

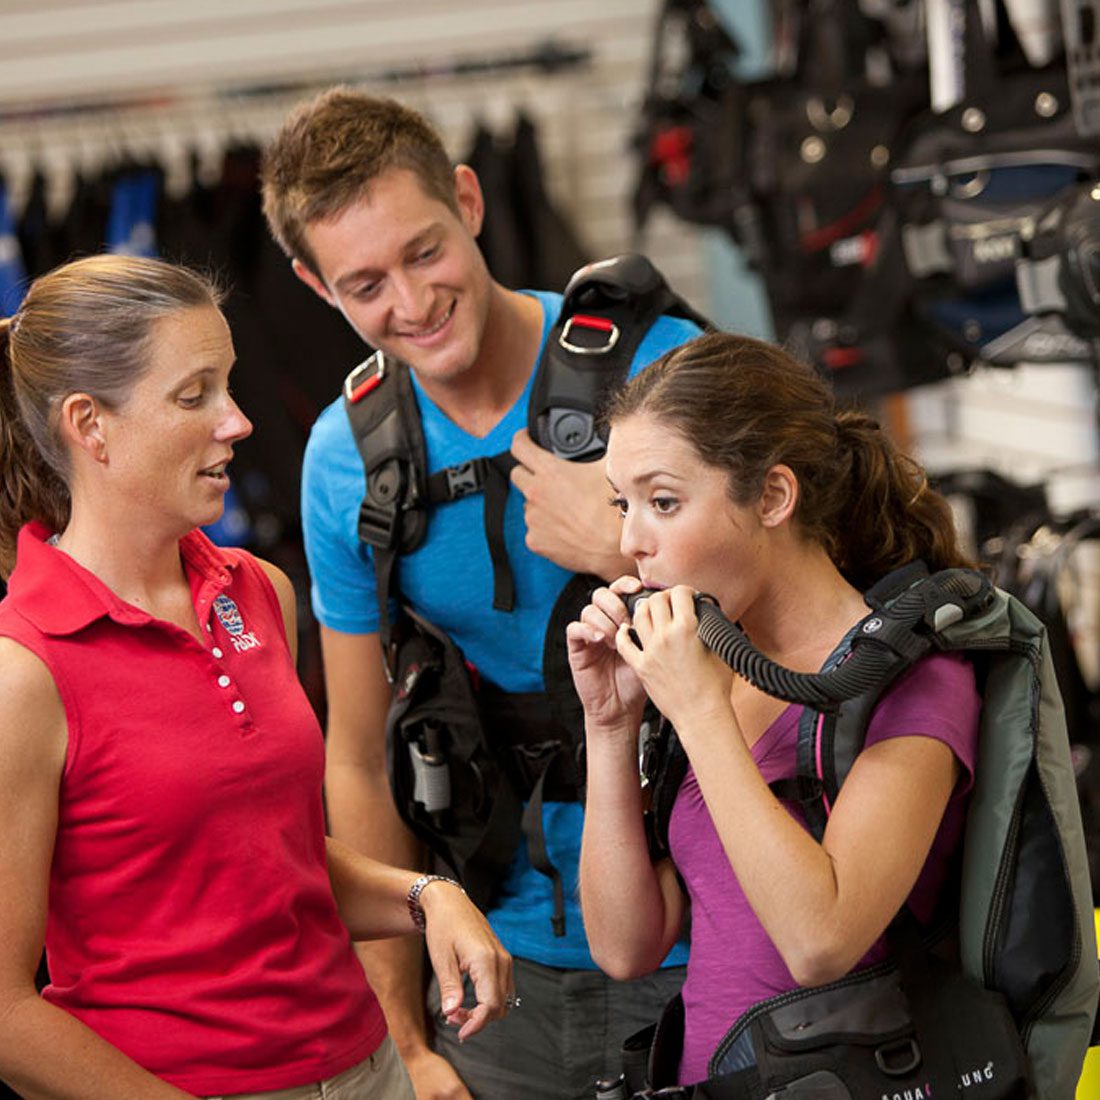
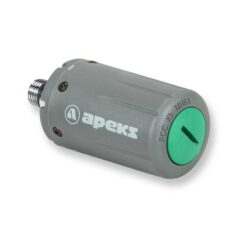
Shearwater Swift Service Kit
$60.00 inc. GST

Available on back-order
Shearwater Swift Service Kit
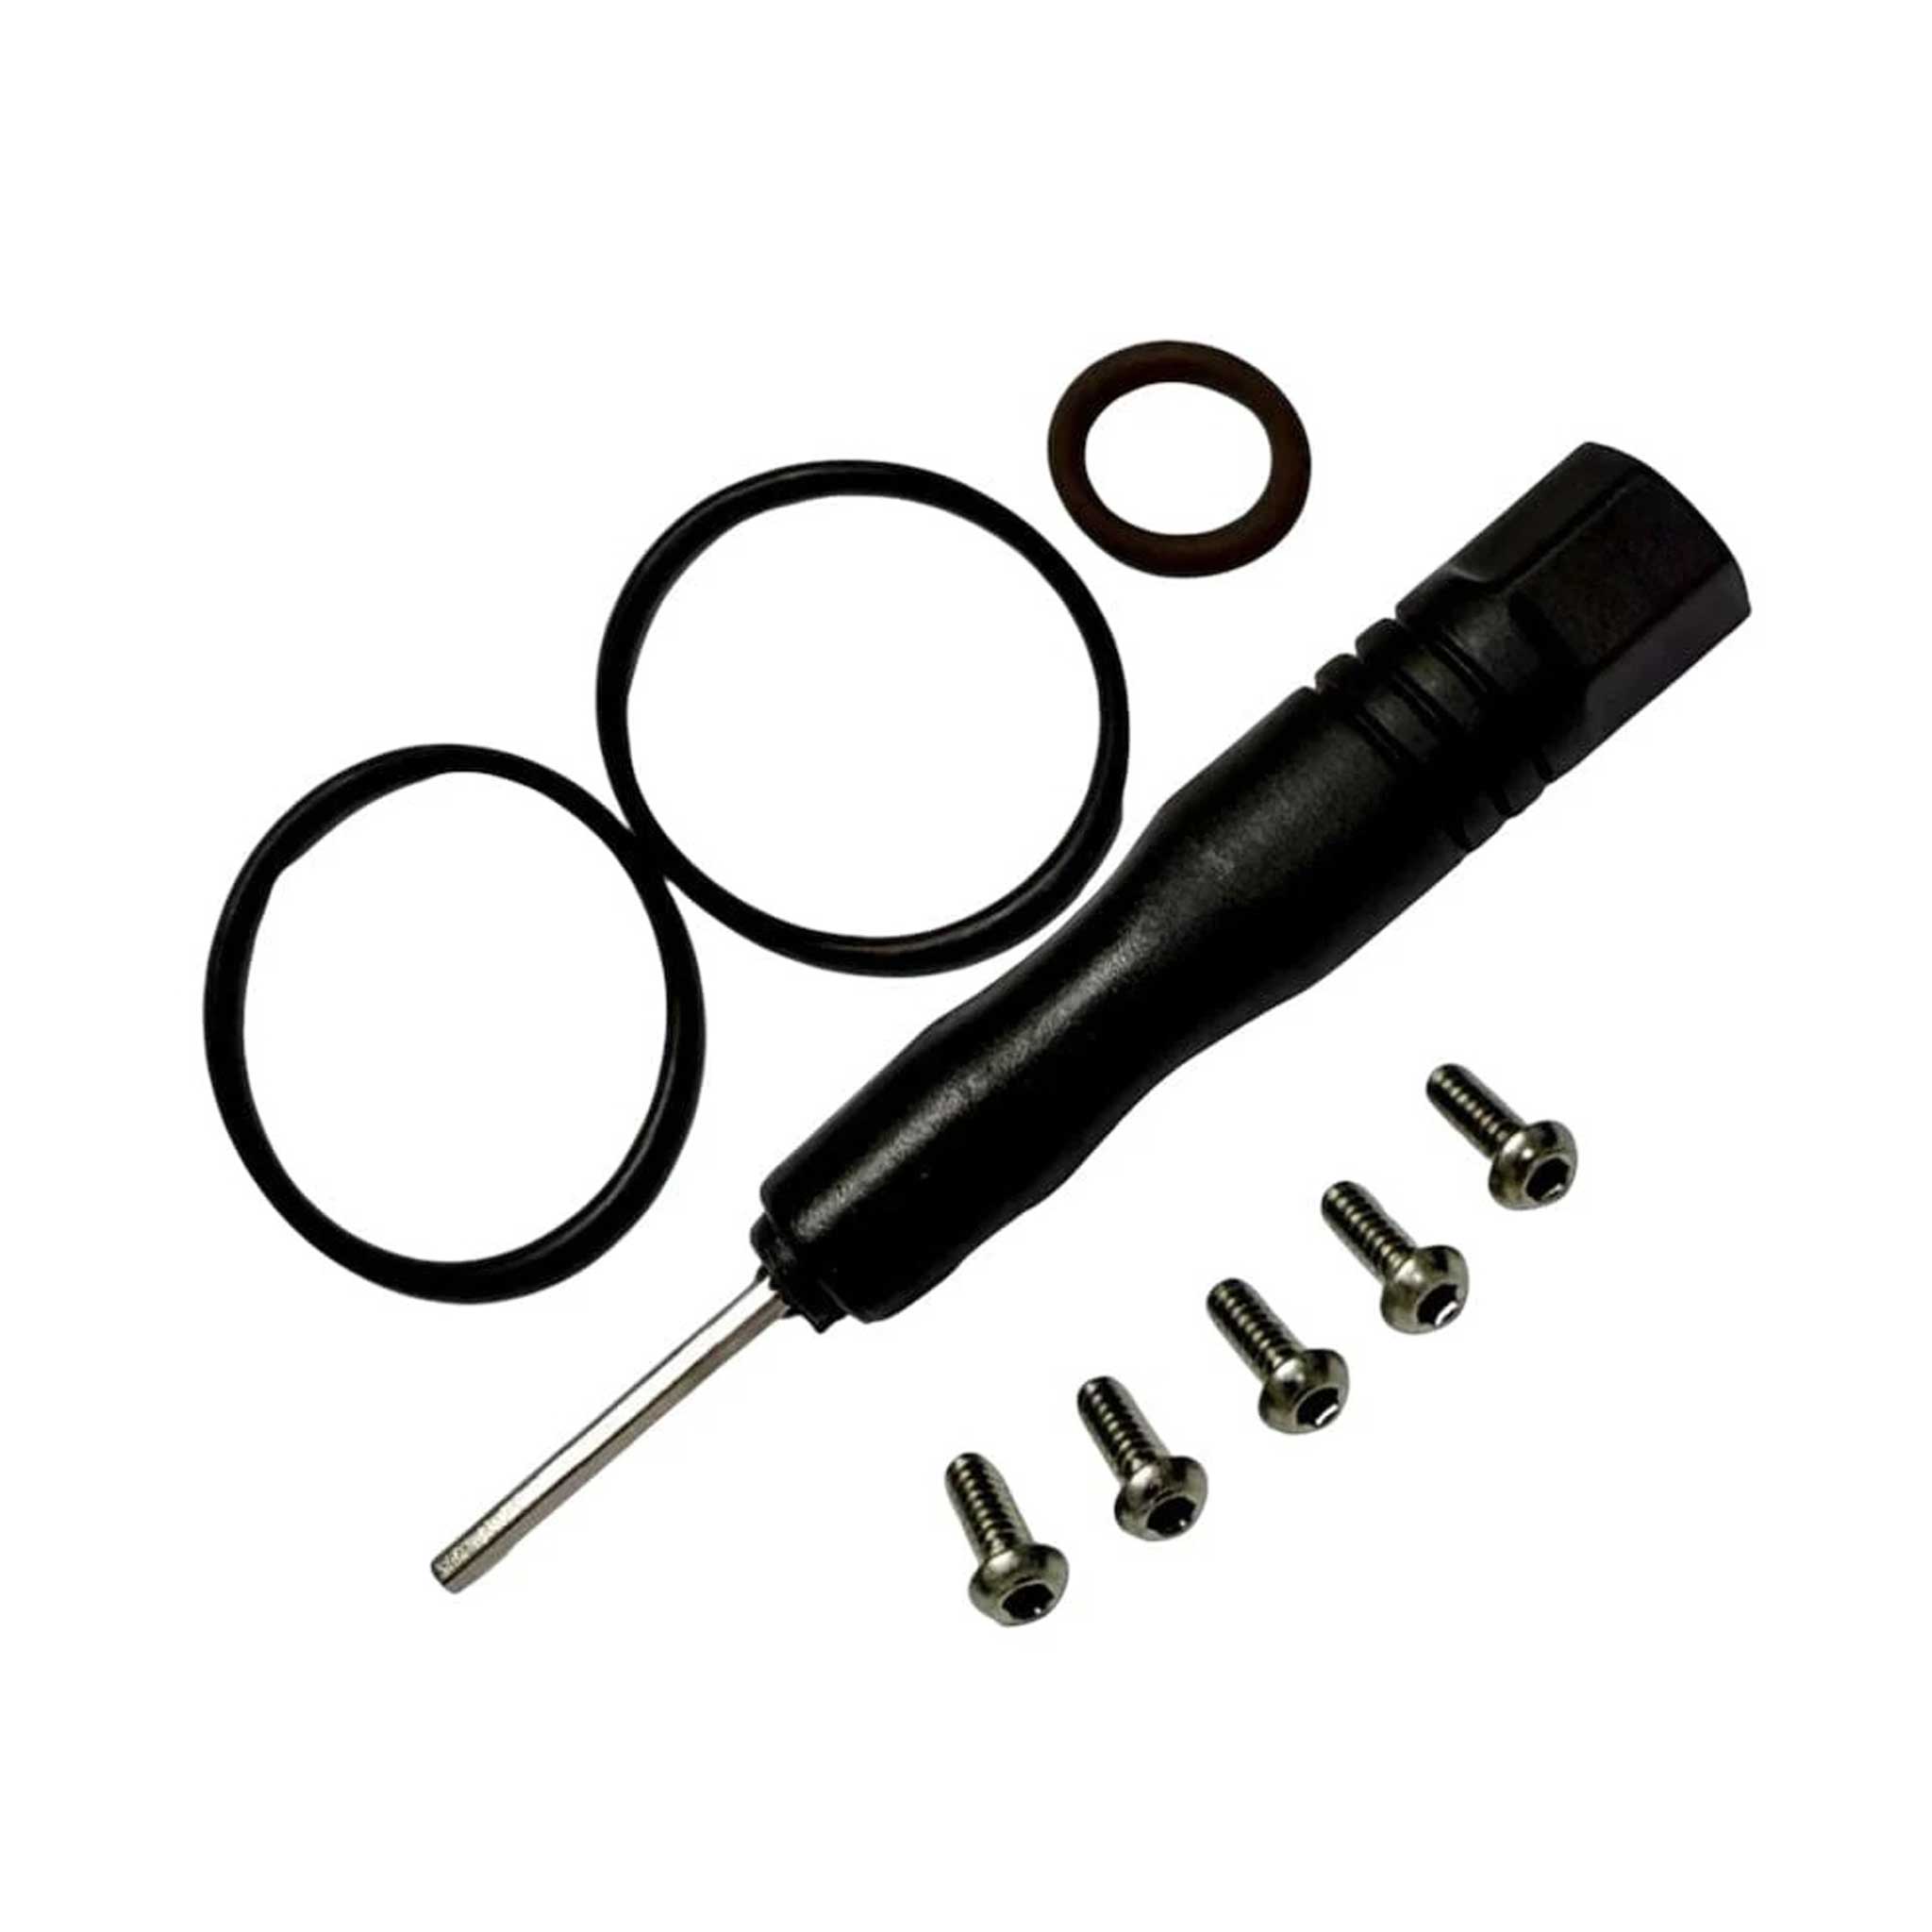
This kit contains everything you need to make small repairs or service to your Shearwater SWIFT Transmitter. Designed and built by Shearwater, it ensures effective service for your SWIFT transmitter.
Remove the cover
Using the tool provided, loosen and remove the 4 screws at the base
of the transmitter. Grasp the cover and pull away from the
base. This operation may be easier if the transmitter remains
attached to the HP port of a regulator. Ensure no pressure
is present at the HP port during the battery
CHANGING THE BATTERY
Battery + change operation.
Exchange the battery, Remove the existing battery from the battery clip. Dispose of the battery properly according to local regulations.
It is recommended to leave the battery out for at least 1 minute to allow internal circuits to reset. Insert a new battery, negative towards the base, positive towards the top (a small + is marked at the top end). Push the battery down gently in to the clip. The status LED sequence red, yellow, green shows good battery contact.
Replace the cover
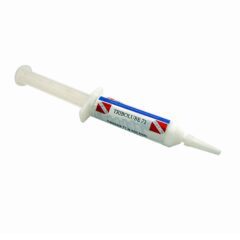
Ensure the base o-rings are clear of debris and are not damaged. Replace o-rings (see specifications page for dimensions) if damaged, using a small amount of O2-compatible lube. Carefully align the cover so the circuit board fits in the wide part of the case. The cover should slide down easily until the base o-rings engage. Do not force the cover down if it is not aligned.
Press the cover down firmly until the screw holes line up with those in the base. Using the tool provided, replace the 4 screws and tighten to a snug level.
Caution: Do not over-tighten screws. Screws should be tightened to a maximum of 3 in-lb to prevent damage to the screw heads.
Check Transmitter Operation
To ensure the new battery is installed properly and the Swift is working, install the regulator on a scuba cylinder and pressurize the system.
Check that the pressure reading is reporting correctly.
How Products are Shipped
Orders are sent via Australia Express Post, Couriers Please, Star Track and Australia Post. PO Box and Parcel Locker addresses are shipped via Australia Post; however, We cannot ship large items to these addresses, so you will need to provide a residential or business address. All smaller items and as many as possible are sent via Australia Express Post for a speedy delivery.Large Item Shipping Costs
Due to the increased freight costs, some large items incur an extra shipping fee in addition to the Flat rate shipping cost.
Large Dive Bags: $30 Long Freediving Fins: $15 Long Spearguns: $ 20 Lead Weight over 5kg: We will contact you for extra shipping costs.Shipping Time Frame
All orders are usually shipped the same day if ordered before 12 pm or 1-3 days after the initial purchase. At DGA, We only use reputable couriers that offer excellent service and fast delivery. Rural locations will take longer to arrive (non metro).Shipping Rural and Remote, Offshore islands and Territories of Australia
In rural and remote parts of Australia, shipping will depend on the availability of our shipping companies that can transport your goods to you. We always choose the fastest way possible. Please note our flat rate of $20 is based on delivery to Metro mainland Australia. Some Rural parts of Australia, Offshore islands, North Queensland, Western Australia and Territories of Australia may incur additional postage costs due to the remote location, which means our DGA Customer Service team will contact you or the extra shipping costs to get your products to you.Hassle-Free Easy 30-Day Returns Policy
We understand that the product that you have purchased may not suit or fit you. For us to best assist you in preparing for a return or exchange, please read the following information carefully before returning a product. DGA Dive Gear Australia offers you a 30-day exchange policy on most products within Australia for all goods that are unused and in a saleable condition. This means: Eligibility Conditions- The product and packaging are undamaged, unworn, unmarked and where applicable with tags still attached.
- Must include all packing material, manuals, blank warranty cards, and accessories.
- If you believe your product is faulty, please refer to the faulty items section below.
- Dive Gear Australia is not responsible for misuse of products or poor treatment of goods including proper care and servicing or equipment on time.
- Claims for missing items or items damaged in transit must be received within 7 business days of receipt of merchandise.
Returns and Exchanges
For all returns and exchanges, please contact us at sales@divegearaustralia.com.au outlining what product you would like to return, the reason and your order number. We will do our very best to look after you from there as soon as possible.Return and Exchange Shipping
Unless an item is defective, If you need to exchange or return an incorrect product, please send the item back with a copy of your invoice and any instructions or information we might need. Our customer service team will contact you as soon as we receive the goods for any charges and the cost of the return freight. Return Address: Dive Gear Australia Phone Number 0397023694Clearance and Non-returnable Items
Special order merchandise or any item indicated on the website as non-returnable is as such. Clearance items are not refundable and may not be returned unless there is a clear warranty issue or fault with the product. We will exchange as long as stock is available of the same item.Refund and Credits
Please allow up to 14 days for a credit to appear on your account from the received date. We will issue your refund in the same way you made the original purchase, minus the original cost of shipping.
Click & Collect – LOCAL PICK-UP
Shop online and then collect your order in-store with our Click & Collect service. (Melbourne and Victoria customers only).
This means you can order your favourite product online and pick it up from our store, limiting the need for physical contact with our team.
Once your order’s processed, you’ll receive a confirmation email letting you know that your order is ready for collection.
Bring your confirmation email and ID to the front of the store.
Where do I collect my order from?
Dive Gear Australia
What if I need to add or Change items that I ordered?
When picking up your order, we’ll happily assist you with any changes.
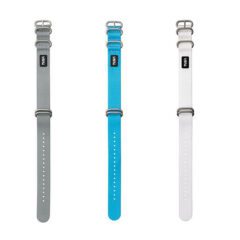
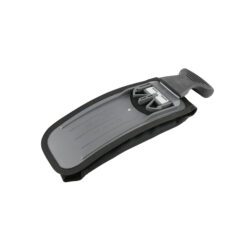
Related products